Edit
Editing a memory map involves modifying the existing data structures to reflect changes in the memory layout. This could be due to hardware changes, updates in the software, or optimization efforts.
Here, we will guide you through the process of editing a memory map, including accessing the map, making changes, and saving your edits. Please ensure to backup your original memory map before making any changes to prevent any loss of data.
All Memory Maps are added in the Test Memory Maps then promoted to production:
https://quicklink.milwaukeetool.com
Be aware
Edits to Test maps must be promoted to Production status by RE before the map will be used to collect data from real tools in the field or at service centers.
Memory Map Edit Process:
- Navigate to (https://quicklink.milwaukeetool.com) and login with your Milwaukee Tool credentials.
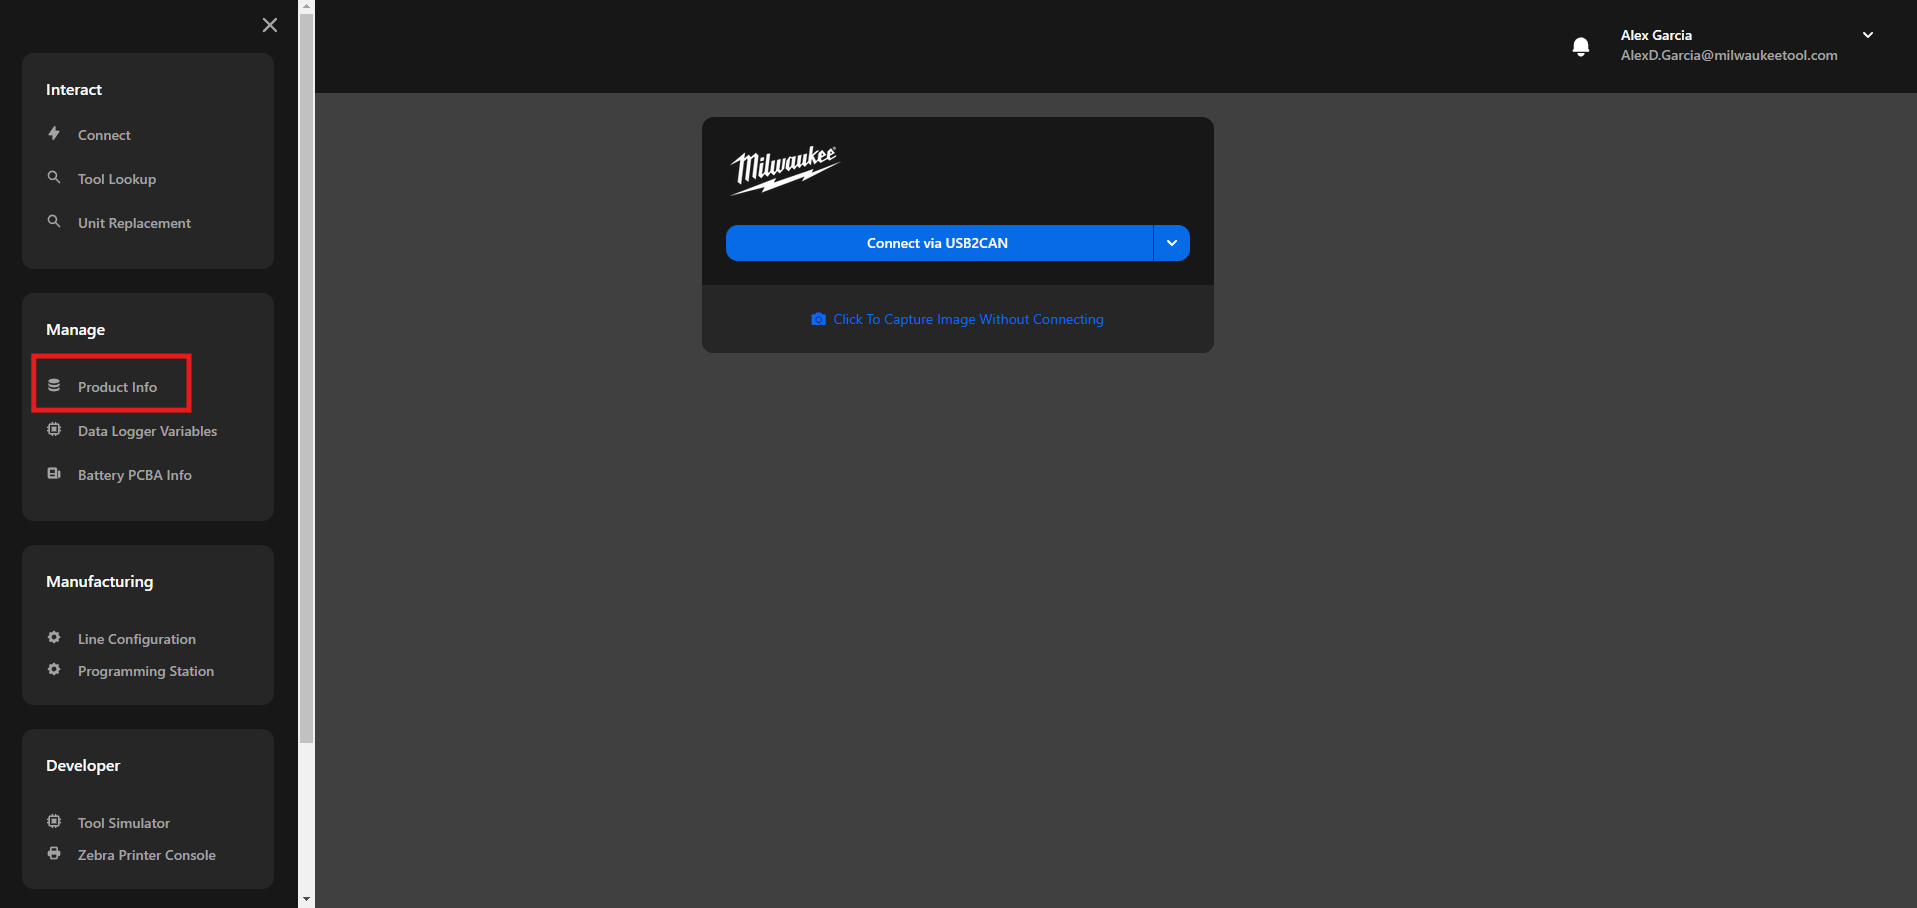
- Click on the “Product Info” in the menu option.
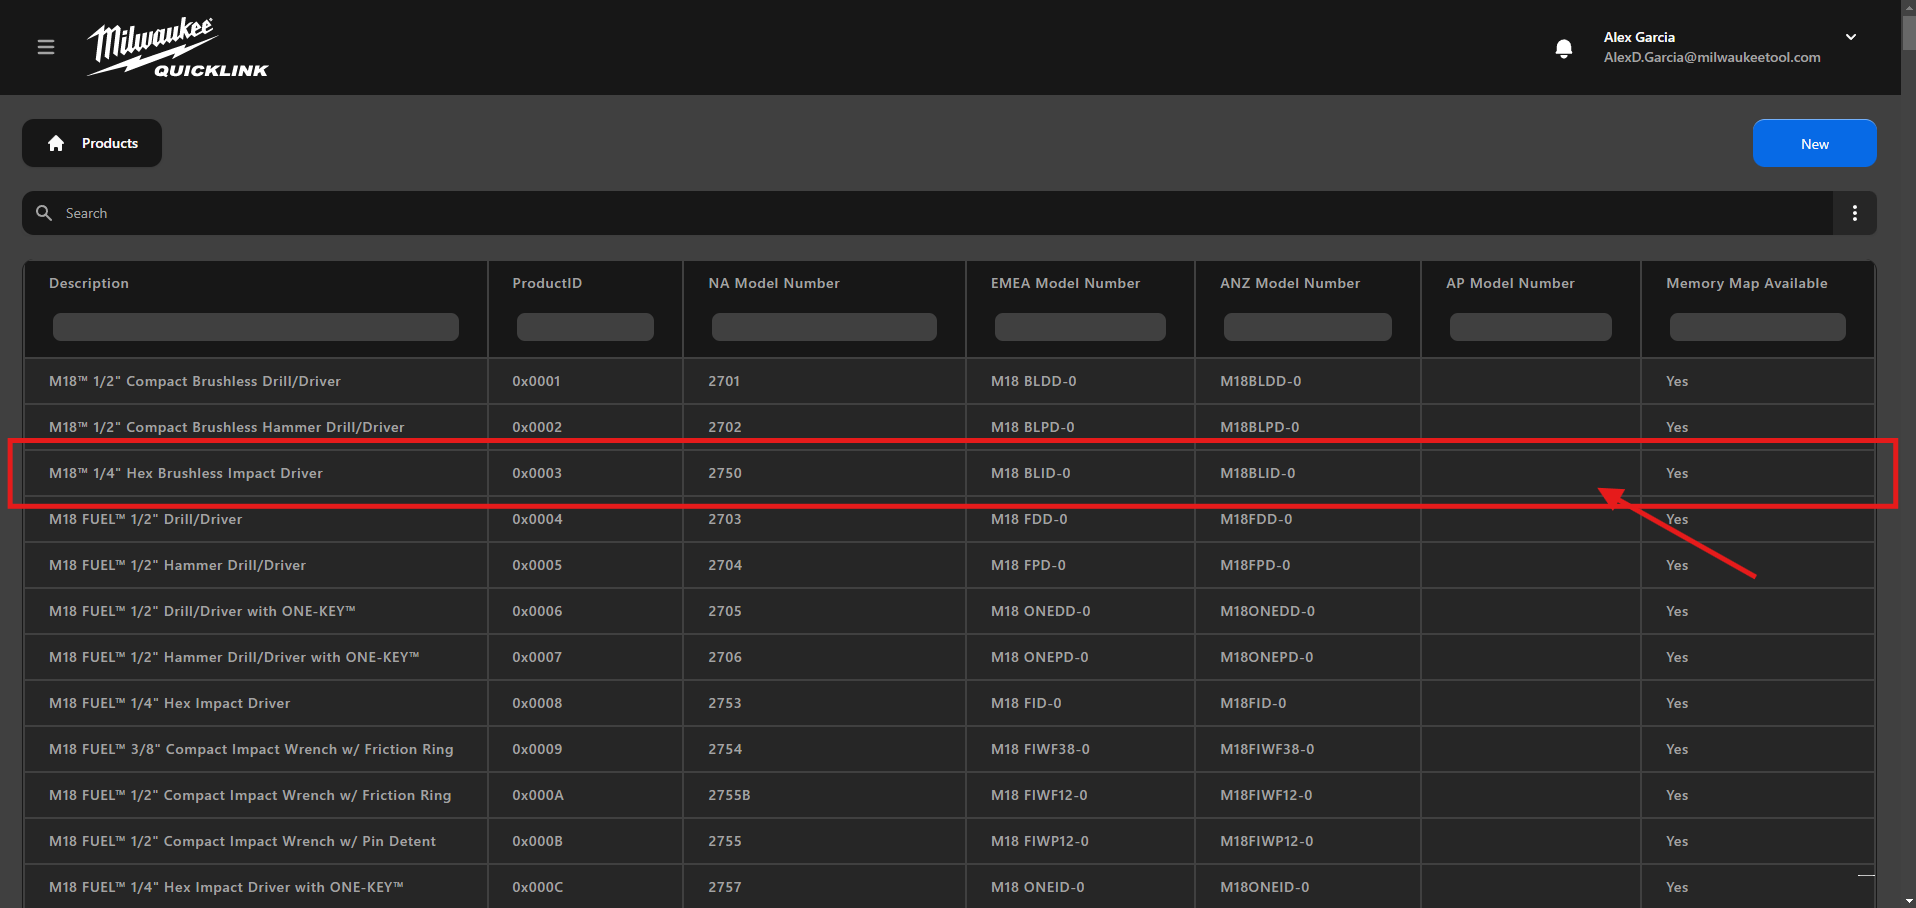
- Search the desired product from the table.
- Click on the product that you want to edit the Memory Map.
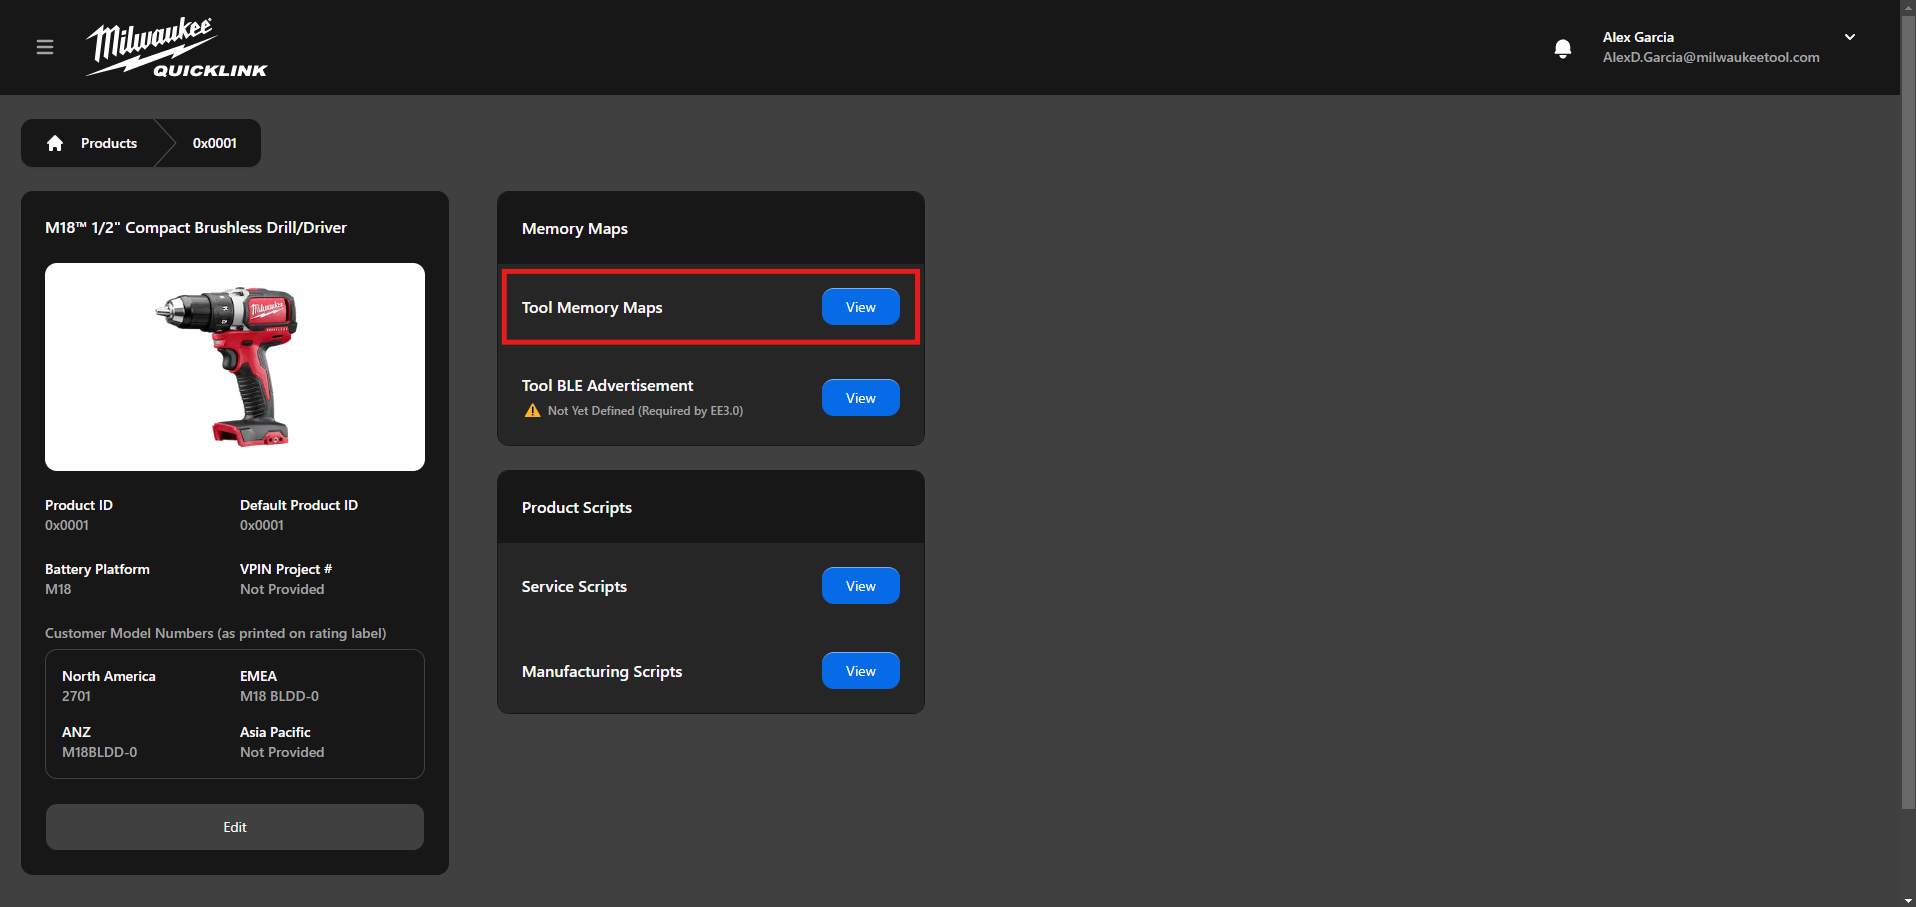
- In the Memory Maps Card, click on the "View" button for the Tool Memory Maps
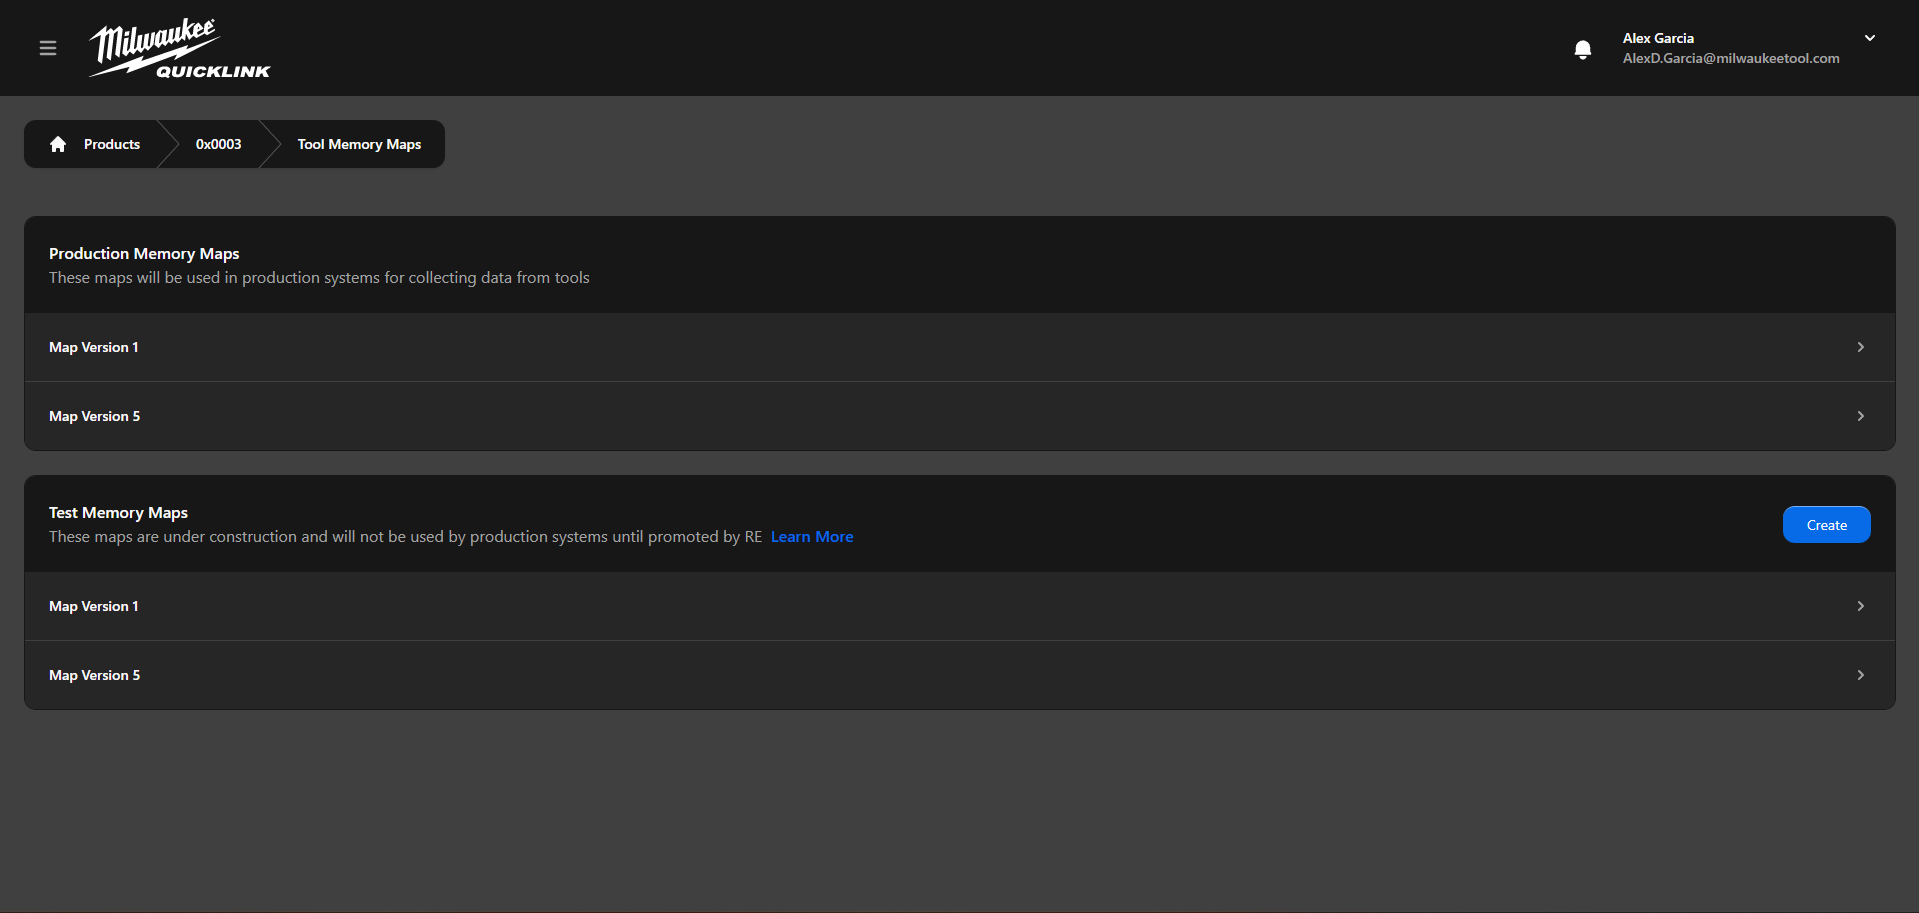
- This action will lead you to all the Memory Maps available for the selected product. Choose the memory map that you intend to alter in the Test Memory Maps section.
note
- Production memory maps are always readonly
- Test memory maps are used to make modification to existing or new memory maps
- Not all users have access to Add/Edit memory maps. If nothing happens when you click on the cell then you do not have access.
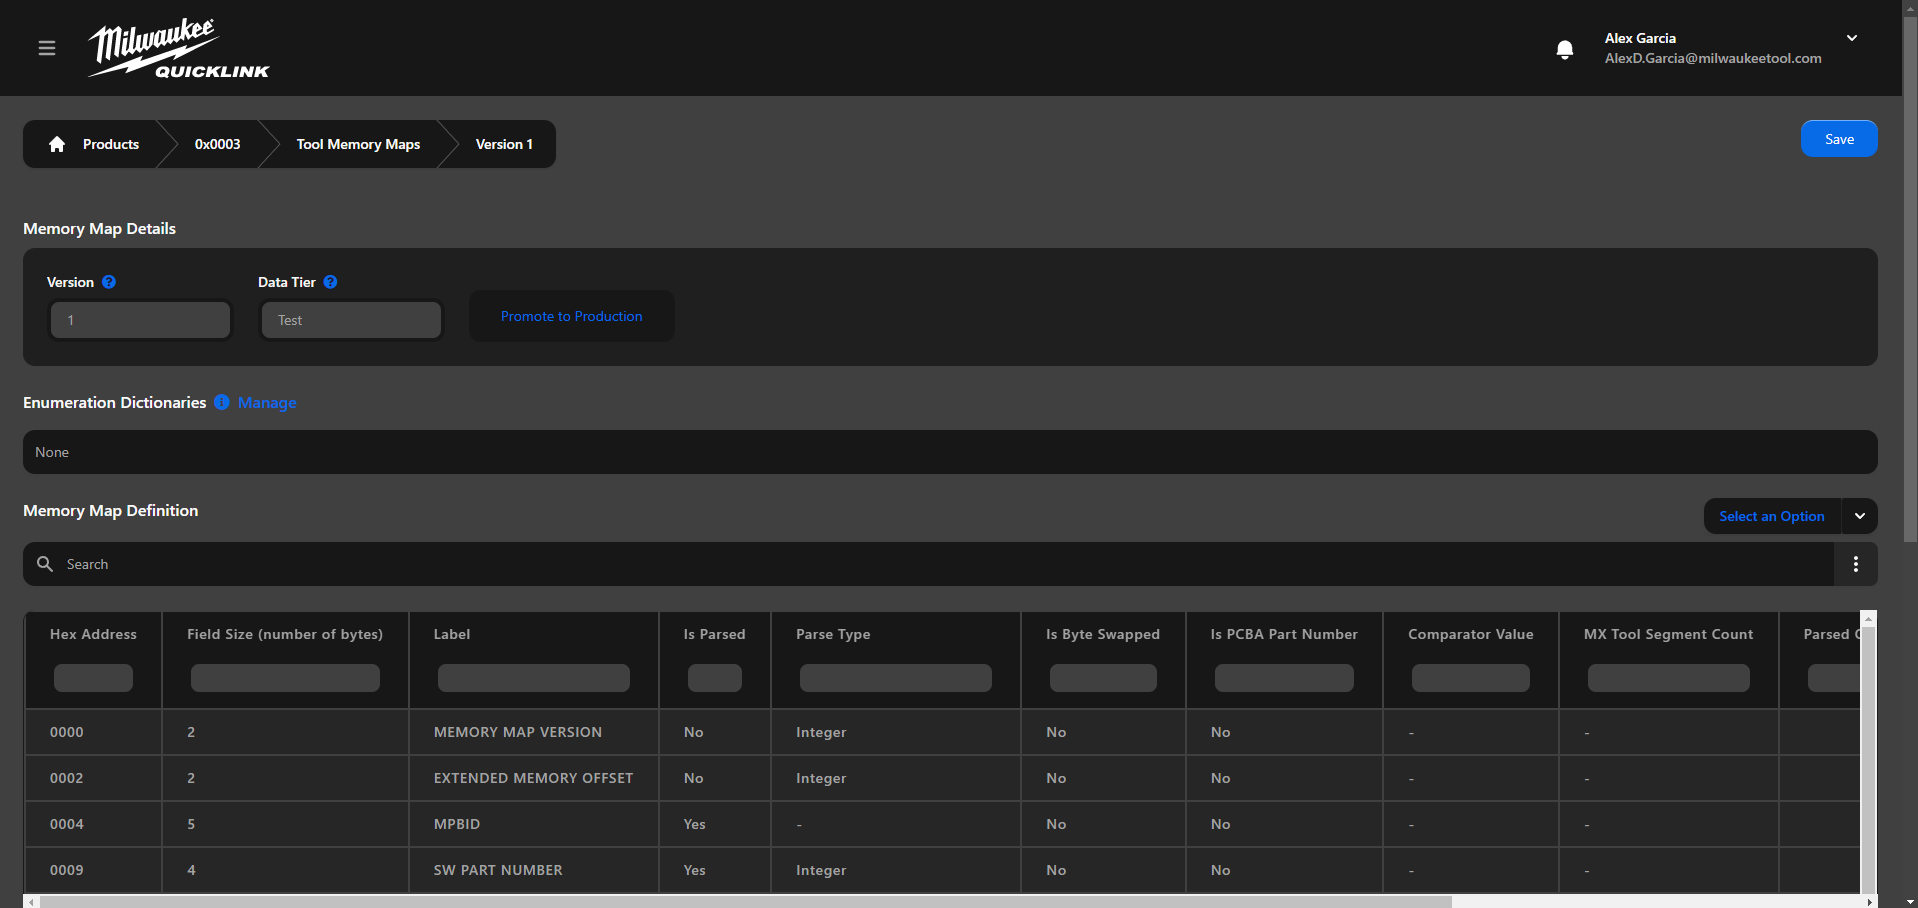
- Click on the memory definition that you wish to modify
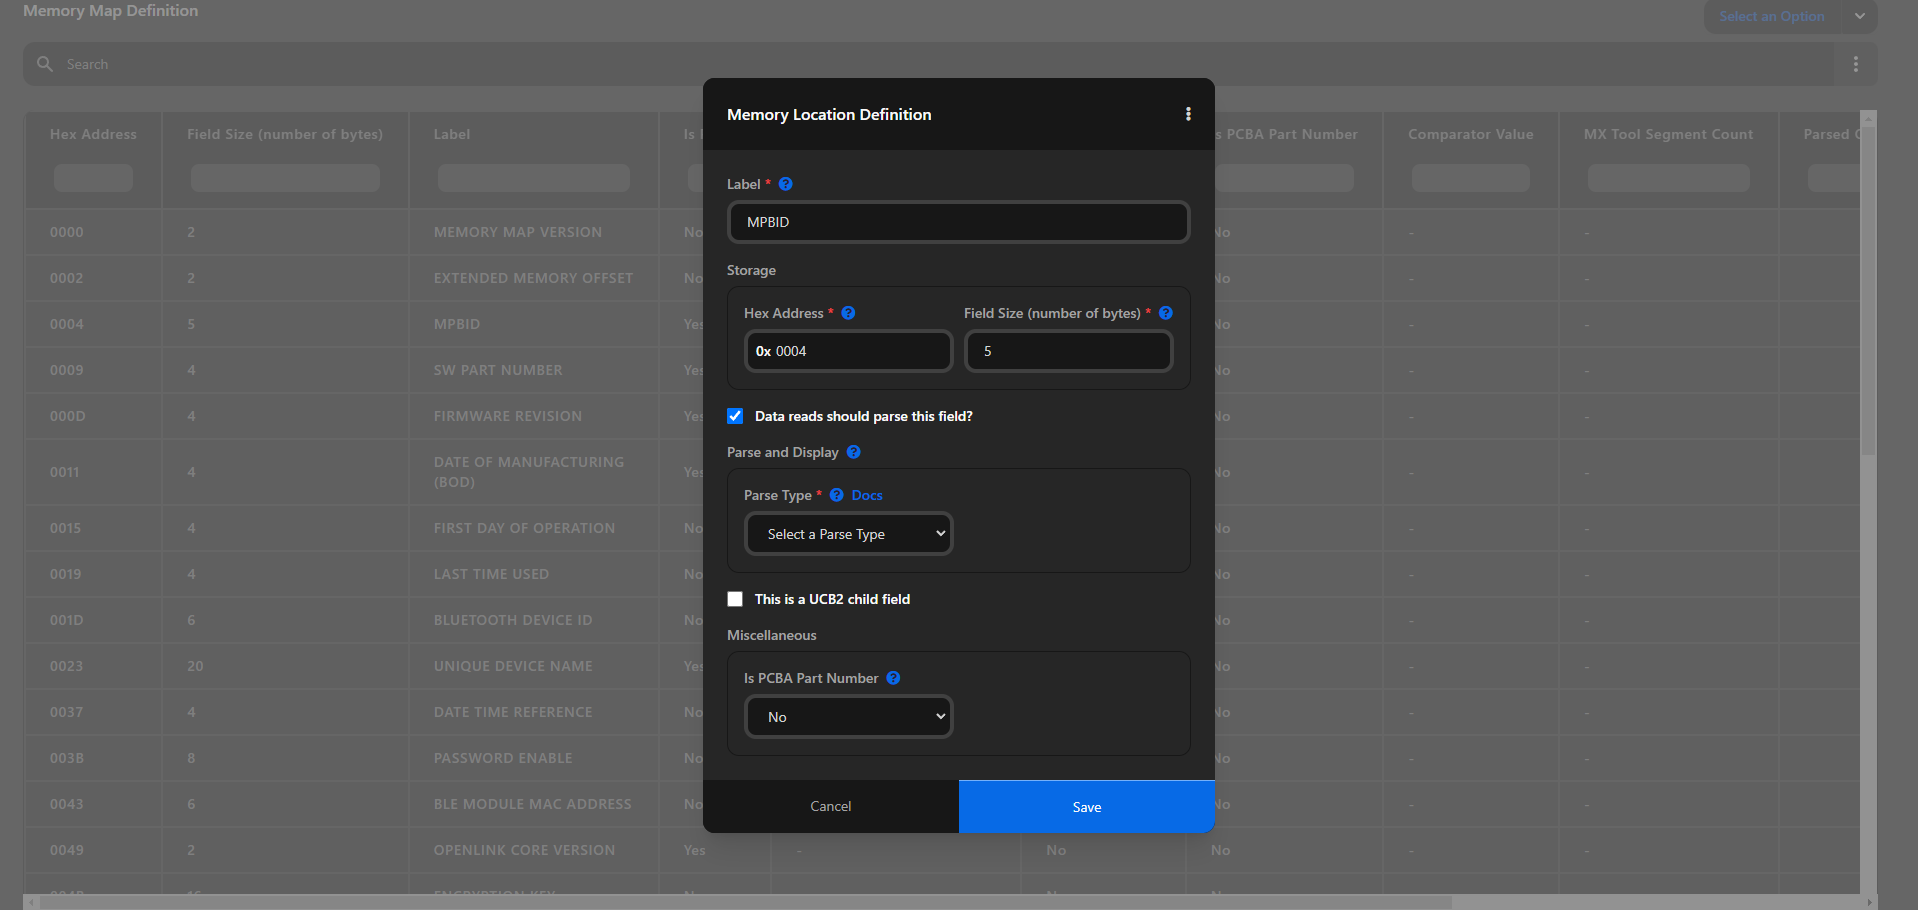
- Alter the fields that you wish to change then click on "Save" button in the dialog
note
- Certain fields may be hidden or visible depending on the product. For instance, tools capable of CANone have definitions for Nodes and Indexes. Or tools with internal subsystems defined will have a Subsystems dropdown.
- After saving the changes for the memory definition the validation will run and notify if there are any error
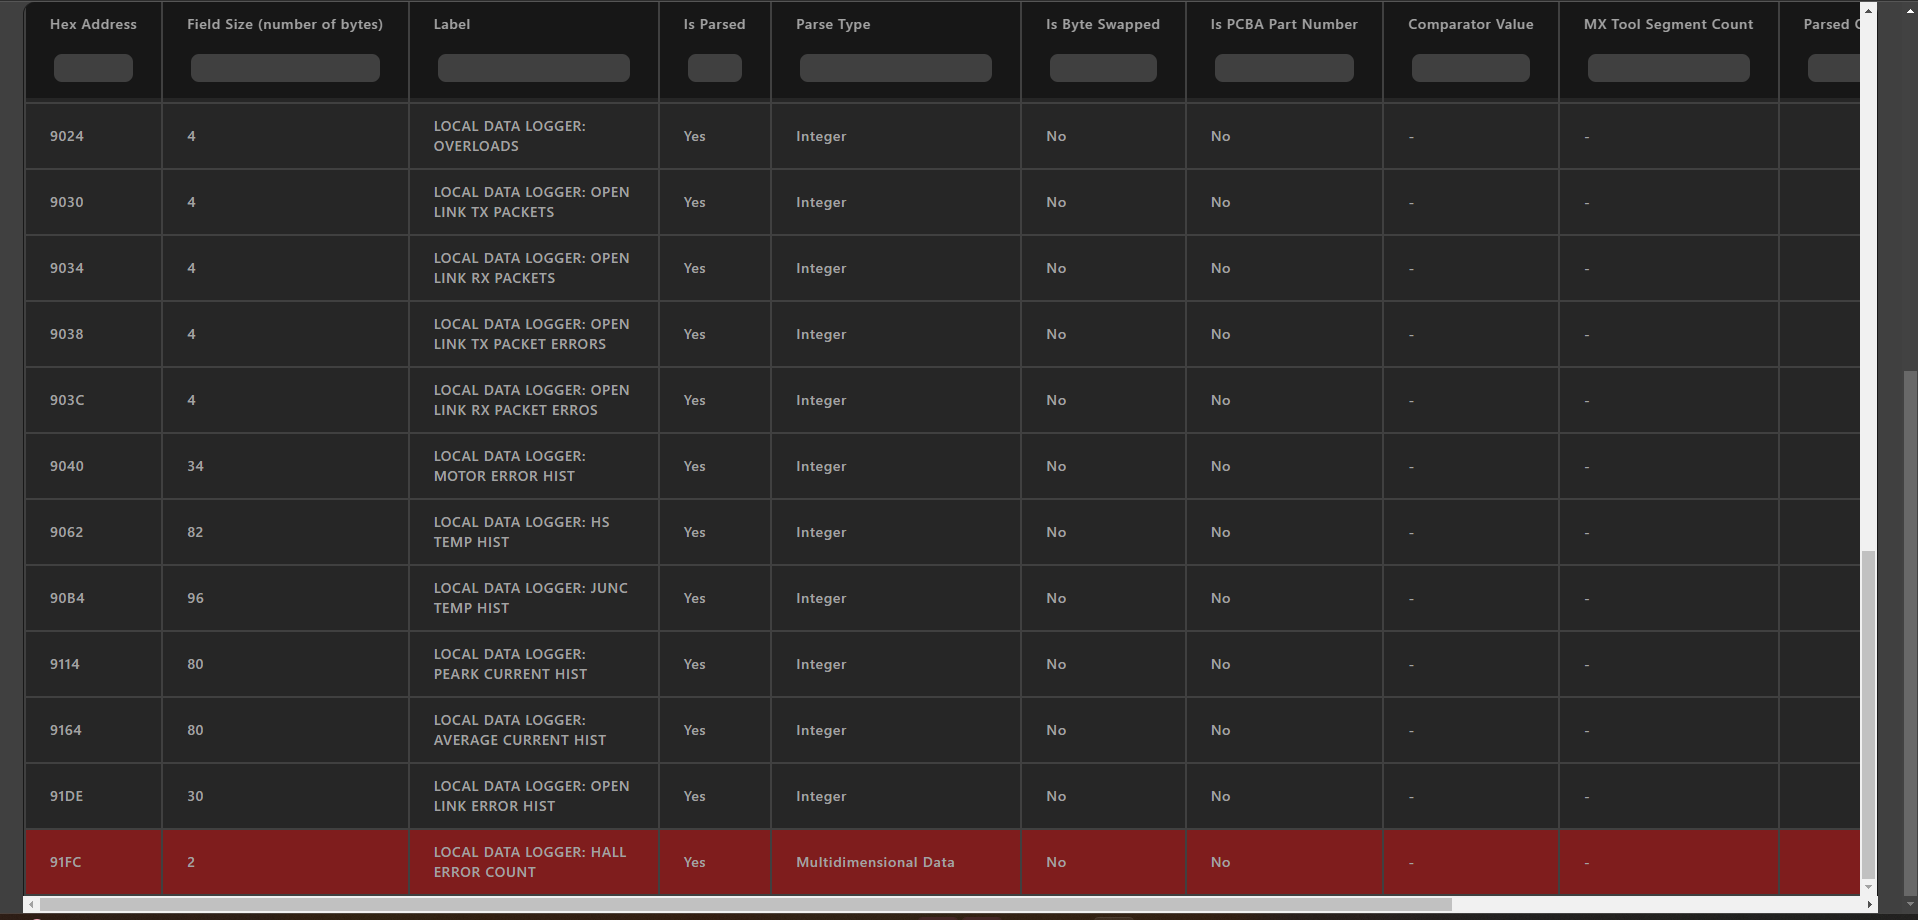
- To save and apply all the changes, click on the "Save" button located at the top right corner.